Whether mountain bike, gravel bike, road bike or city bike, when the braking power of the bike decreases, it’s time for new pads. The good news: with a little preparation, changing the brake pads on disc brakes can also be done by amateur mechanics. In this guide, we show you step by step how to replace your brake pads yourself.
WHEN IS IT NECESSARY TO REPLACE THE BRAKE PADS?
Worn brake pads can be recognized by a significantly reduced braking effect, squeaking noises despite dry conditions and visually when the friction lining only has a millimetre of remaining thickness, or is thinner than a fingernail. It doesn’t matter whether you have disc brakes from the three biggest manufacturers, Sram, Shimano, Magura, or from another brand.
Tip: Check your pads regularly, especially after riding in mud or on long descents.
TOOLS AND PREPARATION FOR REPLACING THE BRAKE PADS
You will need:
- suitable Allen key (usually 2.5 or 3 mm)
- flat screwdriver, piston retractor or a sturdy tire lever
- clean cloth, disposable gloves if necessary
- new brake pads (model-compatible)
- isopropyl alcohol for cleaning if necessary
Preparation: If you have or can use an assembly stand, clamp your bike, otherwise you can also turn it upside down. Then remove the wheel with the affected brake. Do not pull the brake levers while no wheel is fitted.

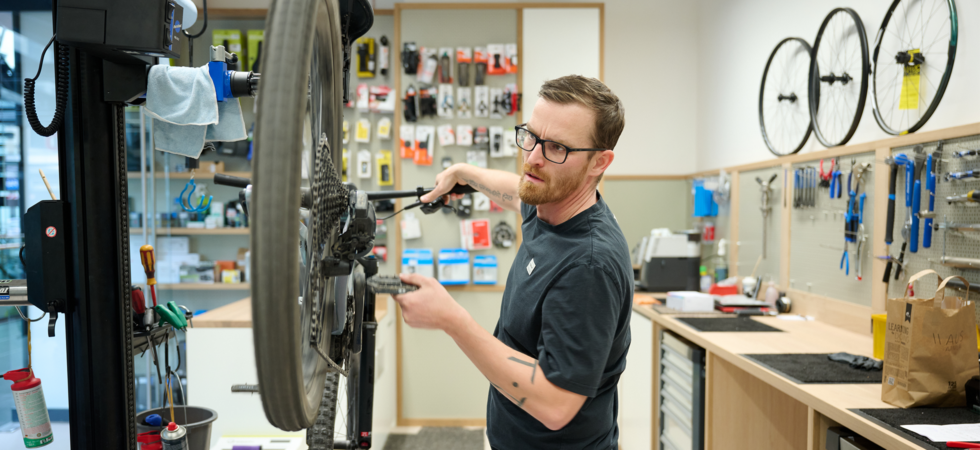
Check your pads regularly, especially after riding in mud or on long descents. Photo: Sport Conrad
Step 1: Remove the brake pads
First, remove the brake pad lock: On many brakes (e.g. Shimano, SRAM, Magura), a split pin or screw secures the pads. Remove these with the Allen key. Then carefully remove the pads downwards or upwards (depending on the model) from the brake calliper. Make a note of the installation direction if necessary. Then reset the pistons by carefully pushing back the pistons (round brake cylinders) in the brake caliper using a plastic tire lever or a flat and wide screwdriver. This creates space for new, thicker pads.
Step 2: Fitting new brake pads
The new pad and the backing plate in the brake calliper should be as clean and grease-free as possible. Especially if you take the new pads straight out of the packaging, avoid touching the friction surface (inside of the pad) with your fingers – grease or oil can severely impair braking performance.
Then check the return spring: Many pads – e.g. from Shimano or SRAM – are supplied with a return spring. This sits between the two pads, keeps them at a distance and ensures that they remain centered in the brake caliper. If your old pads did not have a spring, it is possible that your system can manage without one – in which case you can skip this step.
Now you can reinsert the new pads and spring into the brake calliper until you feel them click into place. Pay attention to the correct installation direction – the pads should lie flat against the pistons.
Step 3: Securing and function test for brakes
Now it is important to fit the lock, which is a small split pin or screw. Then you can reinsert your wheel and check whether the brake rotor is centered. You will probably have to operate or pump the brake lever several times until the pads are in contact with the rotor and the pressure point is clearly noticeable.
It is best to test the wheel again by turning it. Is there any rubbing? If so, check the piston position and the installation of the brake disk again. Then you can “test brake” again.

After changing your brake pads, you can plunge straight into your next bike adventure. Photo: Daniel Geiger
Breaking-in the new break pads
New pads need a short break-in period and you do this as follows: Accelerate to approx. 25 km/h and brake down to walking speed in a controlled manner. Repeat this about 10 to 20 times (pay attention to the manufacturer’s instructions). This creates the necessary friction layer between the pad and the disk.
Now you can plunge into your next bike adventure – completely unbraked.