
 Login
Login
 Stores
 Cart
Cart

A dream for many: crossing the Alps on a gravel bike. Whether guided or self-organised, the Dolomites or Switzerland, easy or challenging – the options for a gravel tour in the Alps are as varied as the routes themselves. In this guide, you will find out which aspects you should consider when planning your Alpine cross on a gravel bike: from route selection to the right preparation and bike equipment to tips for overnight stays and group tours.
contents
- Planning and preparing for the Alpine Crossing
- Route selection: Outdooractive, Komoot & classic routes
- The right gravel bike
- Training for the Alpine Crossing
- Overnight accommodation & luggage
- Nutrition on tour
- Guided Alpine Crossing for beginners
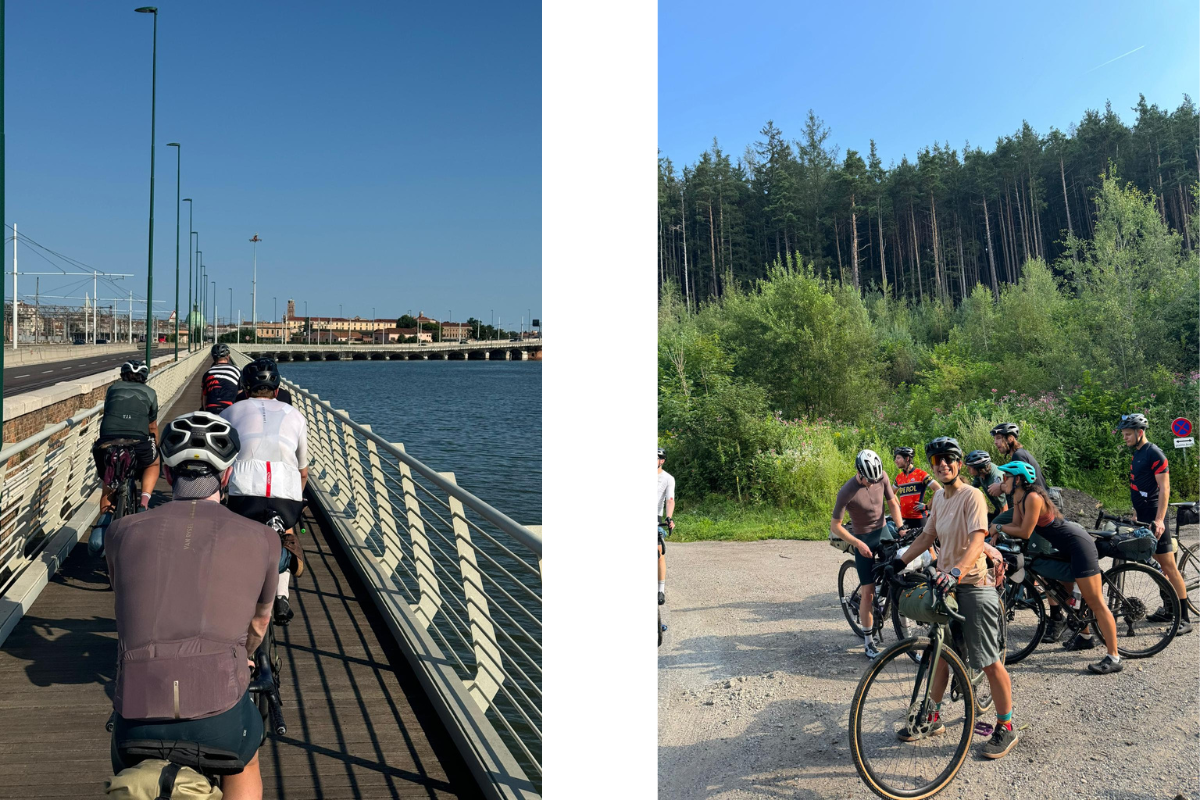
Planning and preparing for the Alpine Crossing
An Alpine crossing by gravel bike requires detailed planning:
- How many days should the tour last?
- How many kilometres and metres in altitude do you think you can manage per day?
- Who is travelling with you?
- Where do you want to stay overnight? (Most important question: should you bring your own tent)
- Should you transport your own luggage?
- Are there bike shuttles or train options for the return journey or shortcuts?
The better prepared you are, the more relaxed the tour will be. The best thing about planning: Simply start in winter, as this will also motivate you for your endurance / fitness training. Bear in mind the time period for your Alpine cross: In the off-season (May/June or September/October), the routes are less frequented, but not all accommodations are open.
In July/August, it is important to book accommodation in advance. If you are travelling as a small group with tents, this is not absolutely necessary, as the campsites usually still have space for tents even in the peak season. In the off-season, there may still or already be snow at higher altitudes.
Route selection: Outdooractive, Komoot & classic routes
Choosing the right route is crucial for your success and fun on an Alpine crossing. There are no ‘classic’ routes for gravel bikes like there are for MTBs or road bikes. To save yourself work when planning your own route, it can make sense to adapt an MTB route, replace difficult trails with gravel paths or, conversely, avoid major roads on road bike routes. If you plan your own route, you probably won’t be able to avoid planning it yourself on platforms such as Outdooractive or Komoot. The big advantage: you can adapt the daily distances to your own performance level.
All in all, Alpine crossings can easily be completed in four days on a gravel bike. Of course, the motto is: longer is always possible.
Popular routes for a Gravel Alpine crossing include, for example
- From Garmisch to Lake Garda
- From Munich through the Dolomites (e.g. from Brixen towards Cortina) to Lake Garda or even to Venice
- Through Graubünden/Engadin through Switzerland to Lake Como
- Over the Reschen Pass to South Tyrol
- To the Adriatic Sea
When assessing the difficulty, it is necessary to take a close look at the route. The altitude and length information is deceptive, as 500 metres of altitude on rough gravel can quickly feel like 1000 metres of altitude on asphalt. It is therefore advisable to have some experience with route planning before the Alpine Crossing.
The right Gravel bike
A solid gravel bike is a prerequisite for a successful crossing of the Alps. Watch out for:
- Robust wheels with rather wide tyres (38 mm upwards)
- Reliable gears with a gear ratio suitable for mountain biking (e.g. 1×11 with 36 chainring at the front and 11-42 cassette)
- Bikepacking bags or pannier rack depending on style
- Disc brakes
Some sections lead over loose gravel roads, and short stretches of carrying cannot be entirely avoided. Therefore: less weight is more comfort.
Very important: get to know your bike really well before the tour: Do you know how to fix the worst punctures? Do you know how it rides with fully packed bags? And is the gearing of your bike to your liking? Use a test ride to simulate how you will be travelling on your Alpine cross.

Training
‘Alpine crossers are made in winter’ – this sentence should tell you to start building up your endurance in winter before your tour. Consistency and a combination of endurance units (whether on the bike, running or swimming) and strength training (your own body weight is completely sufficient) are the key to success. In spring, the first longer rides on the gravel bike are added. Here too, it is better to do a 3-4 hour ride twice a week rather than an 8 hour ride. Pedal stroke by pedal stroke, you will notice that longer distances become easier and easier for you. To test your progress, you can, for example, set a test lap on your doorstep at the start of the season and ride it again after 6 to 8 weeks. It is not important how much faster you are, but rather whether the route feels easier.
In addition, plan many different routes for your rides: Easy and long routes with lots of tarmac sections, technical, short routes with easy trail sections (if you have also planned these into your Alpine crossing) and challenging routes with steep and/or long climbs. This helps you to test your equipment and body. If you start without preparation, you run the risk of your holiday becoming a mental torture.
Overnight accommodation & luggage
Depending on the route, you can stay overnight in guesthouses, mountain huts, campsites or hotels. When booking, look out for bike-friendly accommodation and check whether there is a secure parking space for your bike. In the peak season, it is advisable to book early.
When packing your luggage, it is important that you try it out beforehand. Important: Every gram matters. You have to test bikepacking bags on the frame, handlebars and saddle individually to find the right models for your preferences and, above all, for your frame. You should also think about where to attach water bottles. If there is no more space on the frame. This is often the case for riders with smaller frames in particular, who can also use a hydration pack. There are now extra-light models for bikers, but all versions for trail runners are also possible. You shouldn’t use a normal rucksack, as this can quickly cause neck pain and a sweaty back almost constantly. A hip bag for your mobile phone and valuables can be a good compromise.
You can find a minimalist packing list here.
Nutrition on tour
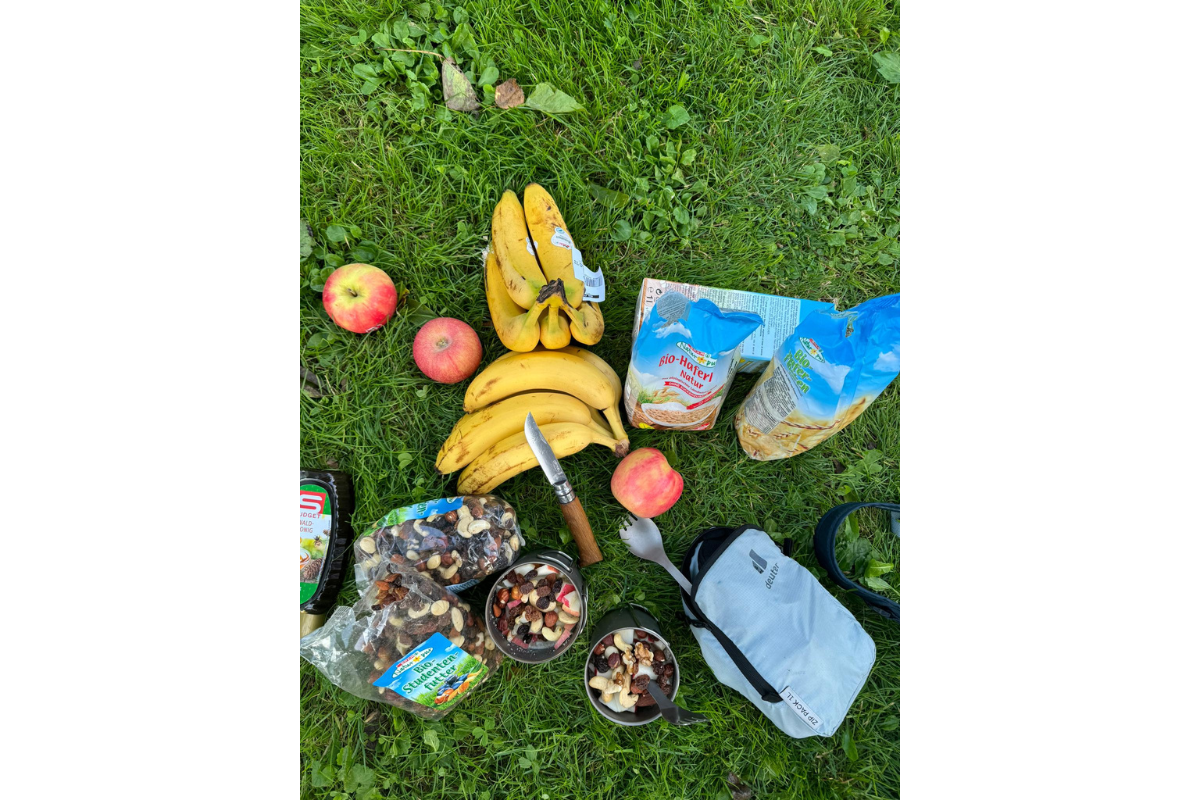
Drinking enough and eating ‘strategically’ is a must on tour. Being on the road all day takes a lot of energy. Especially if it’s not your first day on the bike. Therefore: ‘Practise’ the right, carbohydrate-rich and, above all, timely eating on your training tours. If you pedal around really hungry, you run the risk of a ‘hunger attack’, i.e. a sudden drop in performance due to hypoglycaemia.
If you have favourite bars, fruit or gels, you should not put these habits to the test on the Alpencross. If you want to start eating gels or bars, you should try them out beforehand. Sometimes it takes a little time to find your favourite energy boost.
Guided Alpine crossing for beginners
A brief digression on guided Alpine crossings by gravel bike. These offer:
- Luggage transport
- Accommodation organisation
- Technical support
- Local guides
Ideal for beginners to experience the Alps without the stress of planning and with more safety. Self-organised tours, on the other hand, offer maximum freedom and require more personal responsibility and flexibility. At the same time, there is also the opportunity to opt for a mix. For example, there are tours organised by providers who take care of luggage transport and route planning with accommodation, but do not require a guide. This also makes such tours cheaper.
Conclusion on the topic of Alpine crossing on a gravel bike
The motto for an Alpine cross on a gravel bike is: anything is possible, nothing is a necessity. And most importantly, don’t forget to have fun. Most of the breakdowns, mishaps and ‘I-can’t-go-anymore’ moments are the best stories for those who stayed at home.