When I heard of the new Dynafit Beast 16 Light binding, I wanted to test it right away. Why? Because I already liked the regular Dynafit Beast 16 quite a lot and wanted to see what was different with the new one. The name would suggest the binding weighs less than it did before. Which is true: Weighing 800 grams, it is about 150 grams lighter than the regular version. But that can’t be it, can it?
So I went on a ski tour to see for myself. Before setting out to the mountains, I needed to adapt my boots to the binding. As does the Dynafit Beast 16, the light version also asks its users to apply a separate part on your touring boots in order to be able to step in. I will give a closer insight to this at the very end.

SPECIFICS OF the DYNAFIT BEAST 16 LIGHT
The tour I went on ended up being absolutely great. Walking uphill with the Dynafit Beast 16 light was as I had expected: The tech binding decreased the total weight compared to frame bindings and also compared to many other tech bindings. I noticed it was much easier to step into than the regular Beast 16. Also, the binding offers a higher release value than any other tech binding out there, besides the Beast 16. This is due to the pivoting toe Piece, which can also be found on the Dynafit Radical 2.0 Bindings. It rotates 5mm laterally on each side, creating elasticity and increased safety due to a more consistent release. What this toe piece does, is that by being somewhat flexible, it damps vibration.
This toe piece is the main difference to the regular Beast 16 binding, where I have to say: I prefer the light version. Other than the Radical 2.0, this binding is also equipped with spacers underneath. These provide a better power transfer between the shoe and the ski.
What stayed the same in regard to the Beast 16, is the heel piece of the binding. Meaning that it is very stable, robust and keeps the great ski-boot contact. One disadvantage with this heel piece however, is the fact that it does not have a flat mode. As of this, longer flat traverses might become unnecessarily tough on your legs but I hardly noticed the difference between going entirely flat and using the Beast 16 Light’s flattest mode. Therefore, I do not view this as major problem. The transition with the binding was easier than you would expect of a binding with this high release value. Other than comparable bindings, such as the Marker Baron 13 EPF or the Marker Duke, you do not have to step out of the binding to switch between modes.
DYNAFIT’S BEAST HEEL INSERT
As already mentioned, the back insert of your boot has to be replaced by a Power Insert. Of course, the insert is included when purchasing the binding. It increases stability and safety in a binding with such a high release value. But not to worry, this can be done easily: You simply have to unscrew the old insert and switch it for the new one. Actually, Dynafit also offers some touring boots which do not require inserting the power-heel adapter. This technology is called Master Step, is patented and makes the boot compatible to the beast binding, as well as regular tech bindings without having to do any modifications. The following Video, although being based on the Beast 16, shows you how to insert your new heel piece:
CONCLUSION
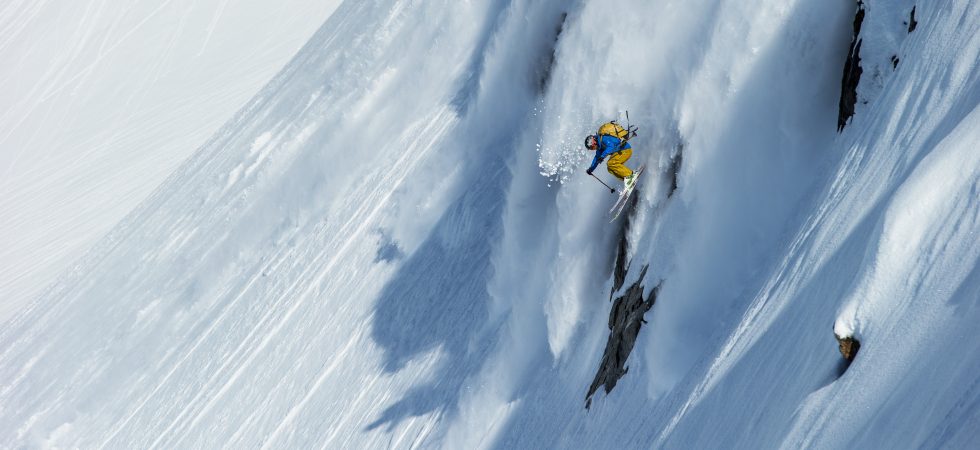
Concluding, I very much enjoyed the Beast 16 Light. The binding offers great energy transfer and when skiing downhill, I did not even feel that I was using a tech binding compared to regular freeride bindings. Especially in rough conditions and higher speeds, the binding does not feel as harsh as tech bindings usually do. I would recommend this binding to anyone looking for a great downhill experience, going with a more aggressive style: This binding makes you feel safe on jumps and cliffs!